Choosing a Garden Shovel or Spade
November 3, 2026
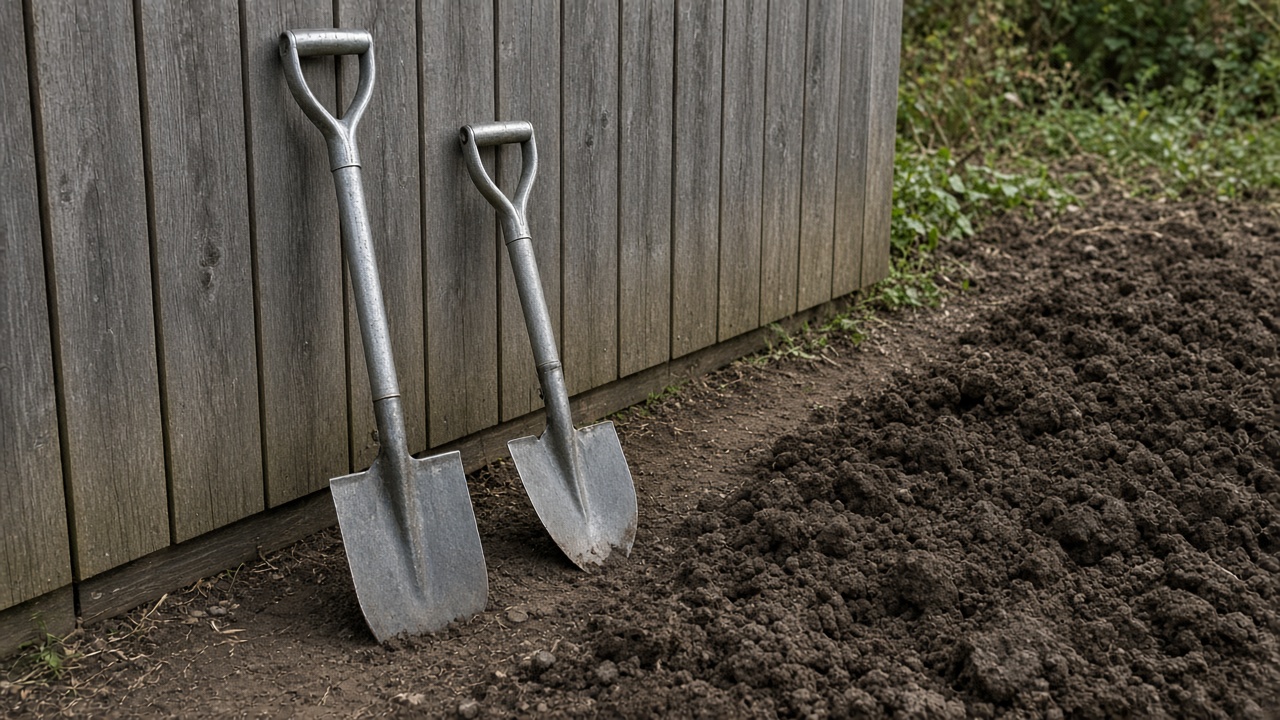
A shovel and a spade are not the same tool with two names. Digging turns soil up or takes it out. Shoveling moves loose material. Spading mixes it and leaves it in place. You dig a hole, shovel the mix back in, and spade compost into a bed. Buy the blade for the job you do, then match the handle to your height and to the space.
The blade
For digging, a round-point shovel is the usual choice. The point puts your weight on a small spot, so the blade enters soil more easily. That same point is a poor bargain when it meets a tough root or a rock, because the force has nowhere to go but into a stall. A round-point is also the better tool for lifting soil out of a planting hole, where a smaller head can work in a tight space. North Carolina State Extension calls a round-pointed shovel a good all-purpose tool for digging, turning soil, and lifting crops such as potatoes.
For moving loose soil, mulch, or compost across a flat surface, use a square-nosed shovel. The flat back holds more than a round point and scrapes clean. Virginia Tech describes pointed blades for cutting into roots or heavy clay, square noses for loose or lightweight material, and a rounded blade with a slight point as a general digging and lifting shovel.
A garden spade is the straight cutter. Its blade is flatter, and its edge is sharper, than a shovel's scoop. Use it to cut sod, slice a crowded rootstock, smooth the side of a trench, dig a straight-sided hole, and work organic matter into heavy soil. A trenching spade is the narrow version, for a drainage line or a tight trench. A border spade is slightly smaller and lighter than a digging spade. It fits a raised bed and any gap where a full blade will not turn. For transplanting a larger plant, use a short-handled garden spade with a narrow head so the cut stays close to the root ball.
Blade width is a strength question, not a status question. A general-purpose garden shovel is about 8 to 9 inches wide. A wider blade carries more and asks more of you on every lift. If you are not strong, or if the work will go on for an hour, a blade about 6 inches wide is the kinder choice. A shovel that is too heavy, or too large for the task, is a common mistake. Smaller tools put less stress on the body.
The handle, next to you
Stand the tool beside you before you pay for it. For a long shovel, aim for a handle that falls between your elbows and your chest. That often lands around 44 to 48 inches. A spade can run a little longer, about 45 inches or more, and still use that same elbow-to-chest check. In a confined bed, a short handle of about 18 to 24 inches gives you room to turn without hitting a fence or a shrub.
Virginia Tech draws the line a little differently, and both descriptions are useful. A longer handle, about 40 to 48 inches, lets you dig a deeper hole and throw soil farther with less bending, and it gives better leverage on a large hole. A shorter handle, about 26 to 30 inches, is for precise work, for trenches, and for places with little room.
Rutgers Cooperative Extension uses your own height. For a spade used as a digging lever, the shaft should be as tall as you are, or taller. For a shovel used to move material, a shorter shaft around elbow height is the better fit, with a T grip or a D grip. A long handle reduces bending when you use it properly. It does not make a heavy, far-off load safe. Do not twist while you throw.
D-grip or straight
For most garden work, a D-shaped handle is easier to grip than a straight handle. The smaller the diameter, the easier a small hand can hold on. A straight long handle is the lever for a deep hole. A D-grip or a T-grip on a shorter shaft is the control for a bed, a trench, and a transplant. Some round grips strain the wrist less than a hard corner. Molded finger grooves do not fit every hand. Gloves cushion the joints. Keep the wrist straight, and hold the shaft with both hands.
The step, and the weight of a slice
Look for a large step, or tread, across the top of the blade. That shelf is where your foot goes so your leg, not your back, drives the cut. Wear a sturdy shoe. A smooth top edge will hurt, and it will make you stab instead of step.
Set the blade vertical. The handle will lean. Step, and take a slice, not a full blade. A loaded shovel strains your back and the tool. Lift with your knees, back straight. On a pile of loose material, keep the back of the blade on the ground and push from the end of the handle so your weight does the work. When you turn soil, drive the tool straight down and pull the handle toward you. Let the soil slide off. Do not fling it.
Before any of that, call 811 and confirm the spot is clear of utility lines.
Steel, fiberglass, or wood
The handle material is a storage decision as much as a lifting one.
Wood costs less and can last many years if you keep it indoors. It absorbs the shock of a blow better than steel. It is not as strong as steel or as a heavy-duty fiberglass handle, and it splinters as it ages. A good wood handle that is oiled, and kept out of the weather, lasts for years. Sand a rough spot before it becomes a splinter.
Fiberglass is lighter than wood and stronger, and it lasts longer because it shrugs off weather. That is the practical handle if the tool lives in a shed that is not perfectly dry.
Tubular steel lasts a long time too. It is heavier, and it is the handle for hard, construction-style work rather than an afternoon in a bed. Plastic and other composites are lighter than wood or steel, and they are more likely to crack when you pry.
The joint matters more than the material. Most failures happen where the handle meets the blade. Look for a socket, with the handle seated in the head and held by bolts or rivets. Wiggle the head. A loose fit will open further the first time the blade stops on a stone.
Before it goes on the wall
Keep the edge sharp. A dull tip will not enter compacted soil or heavy clay. After each use, clean the blade with a wire brush or coarse steel wool, tighten any loose nut, and hang the tool in a dry place. Before a long rest, rub linseed oil into a wood handle and a light coat of oil over the blade so it does not rust. A tool you can find, with an edge that still cuts, is the one you will use next spring.
Match the blade to the job, the length to your height and to the space, the grip to the hand that will hold it, and the weight to the slices you can lift all afternoon. Leave the label out of the choice. The shape of the blade is the part that does the work.
Sources
- https://yardandgarden.extension.iastate.edu/article/1994/3-23-1994/digwemst.html
- https://pubs.ext.vt.edu/BSE/BSE-51/BSE-51.html
- https://content.ces.ncsu.edu/extension-gardener-handbook/appendix-d-garden-tools
- https://extension.uga.edu/publications/detail.html?number=C1027-8&title=stocking-the-toolshed-hand-tools
- https://ucanr.edu/site/uc-marin-master-gardeners/essential-tools
- https://burlington.njaes.rutgers.edu/2021/04/24/ergonomics-for-gardeners-part-2/
- https://erie.osu.edu/sites/erie/files/imce/Program_Pages/ANR/10%20tools%20for%20gardening%20Fial%20.pdf